Curbless showers are a modern, stylish, and accessible solution for bathrooms. By eliminating the traditional shower curb, these showers create a smooth, seamless entry while improving safety and usability. Proper planning and installation are essential to ensure efficient drainage, waterproofing, and durability.
Understanding Curbless Shower Requirements
Recommended Curbless Shower Dimensions
For comfort and safety, curbless showers generally require:
- Minimum width: 36 inches
- Minimum length: 48 inches
- Ceiling height: sufficient for headroom
Smaller bathrooms can use custom dimensions, but space must accommodate movement, drainage, and water containment.
Drainage and Slope Guidelines for Proper Water Flow
Proper slope ensures water flows directly to the drain and prevents pooling:
- Recommended slope: 1/4 inch per foot toward a linear or central drain
- Subfloor must be stable and waterproof
- Correct slope prevents water damage and reduces slip hazards
Waterproofing Essentials for Curbless Showers
Waterproofing protects both the shower and surrounding areas. Key steps include:
- Install a high-quality waterproof membrane on the floor and walls
- Seal all joints with silicone or appropriate sealant
- Use moisture-resistant backer boards behind tiles or panels
Curbless Shower Installation Steps
Preparing the Bathroom Floor and Subfloor
- Remove existing shower curbs, tiles, or flooring
- Inspect subfloor for damage, reinforce if needed
- Ensure the surface is level for proper slope and drainage
Installing the Drainage System
- Choose linear or point drains depending on layout
- Align the drain with floor slope
- Secure plumbing connections to prevent leaks
Securing Panels, Tiles, and Waterproof Membranes
- Apply waterproof membranes according to manufacturer instructions
- Install wall panels or tiles with proper adhesive
- Seal edges and joints to prevent water intrusion
Finishing Touches: Sealing, Fixtures, and Glass Panels
- Seal all joints with silicone or other recommended sealant
- Install faucets, shower heads, and controls
- Fit frameless or semi-frameless glass panels for a modern, open look
Curbless Shower Design Ideas
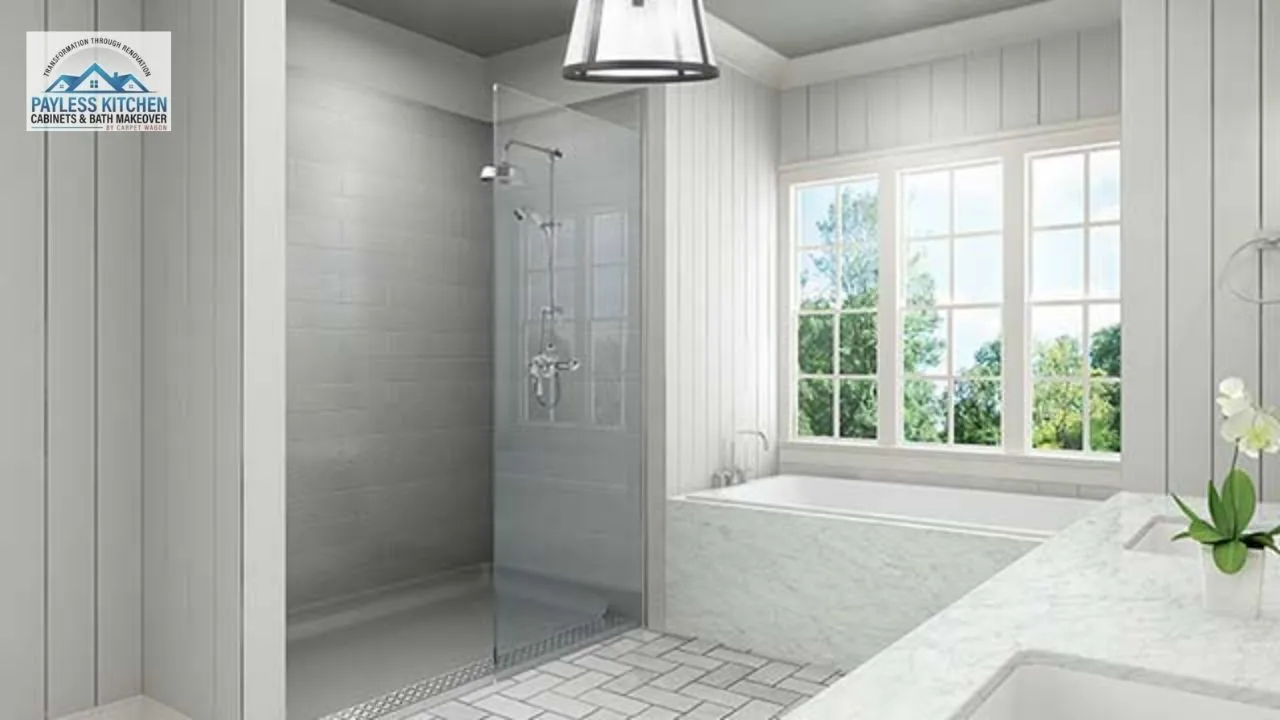
Walk-In Layouts and Open Concepts
- Open, walk-in designs make bathrooms feel more spacious
- Benches and built-in niches enhance comfort
- Avoid doors for a seamless, easy-access layout
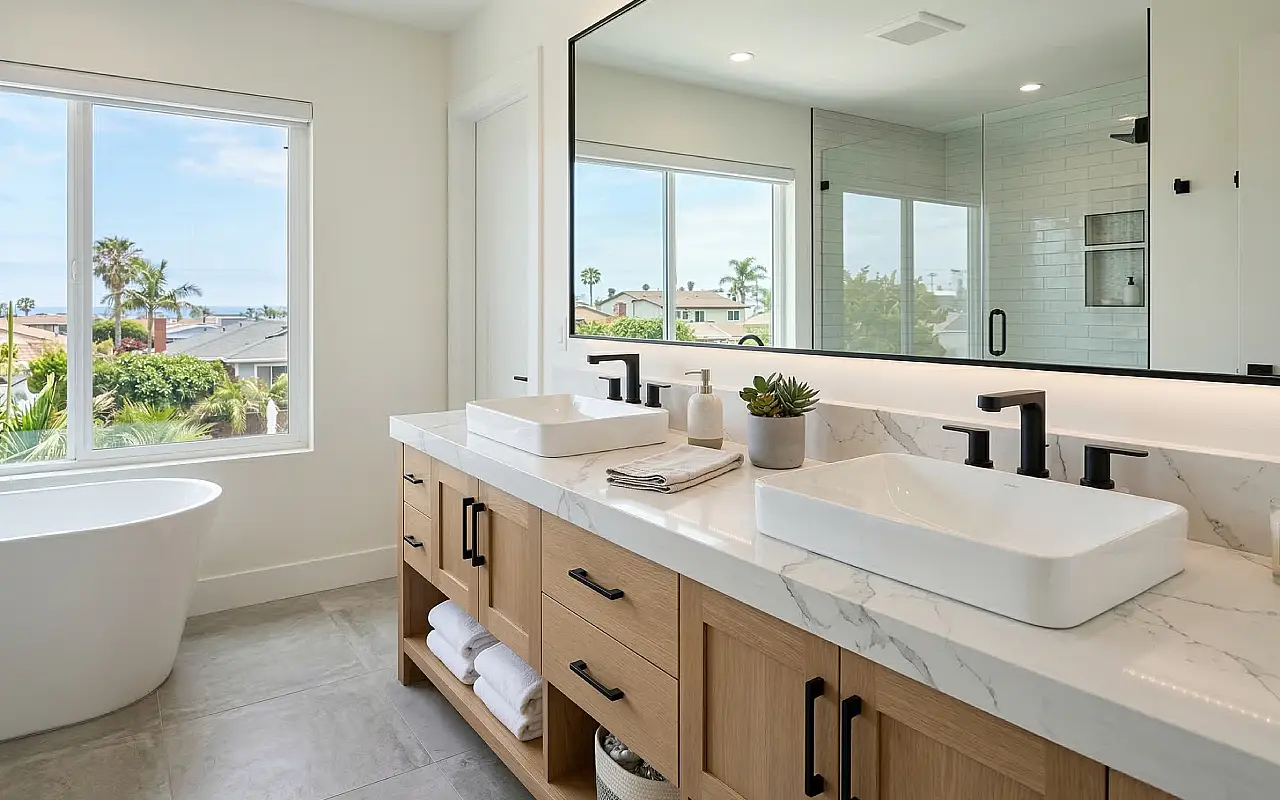
Materials and Finishes for Style and Safety
- Use non-slip tiles for flooring
- Select water-resistant wall panels or tiles
- Choose finishes that match fixtures for a cohesive look
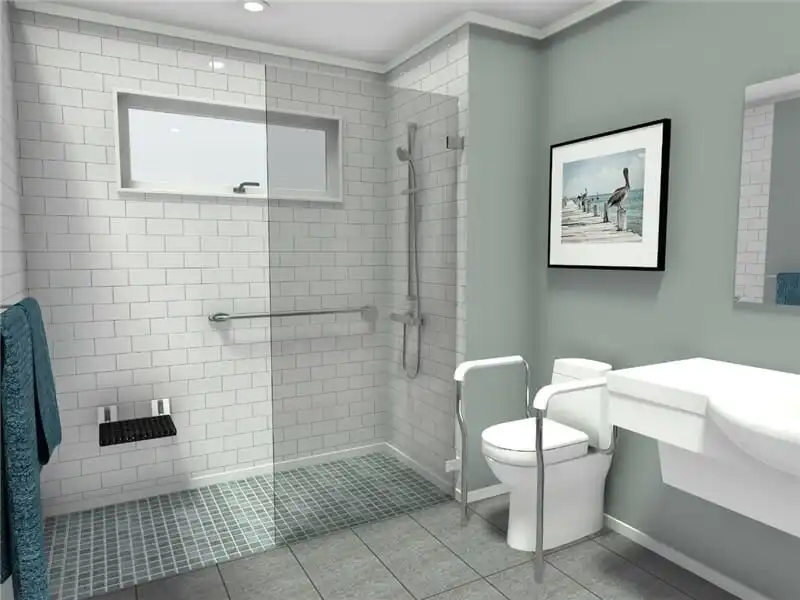
Combining Curbless Showers with Accessible Features
- Install grab bars and fold-down seats for safety
- Choose reachable controls for all users
- Enhance accessibility without sacrificing style
Cost Factors for Curbless Shower Installation
| Cost Factor | Typical Range / Notes |
| Material Costs | $1,000–$4,000 depending on tiles, glass, panels, and drains |
| Labor and Professional Fees | $1,500–$5,000 depending on complexity and region |
| Additional Expenses | Plumbing adjustments, permits, or custom drain systems |
Factors affecting costs include material quality, bathroom size, complexity of layout, and accessibility features.
Planning Tips for a Curbless Shower Remodel
- Match the shower design to the overall bathroom layout
- Ensure proper slope and drainage for effective water flow
- Hire experienced professionals for installation accuracy
- Consider accessibility features early in the design process
Common Mistakes to Avoid During Installation
- Skipping waterproofing or using low-quality membranes
- Incorrect floor slope, causing water pooling
- Poorly sealed joints and edges
- Choosing slippery or inappropriate flooring
- Underestimating space for movement and fixtures
FAQs
1. What is the typical cost of a curbless shower installation?
A. Costs vary based on materials, labor, and design complexity. Most installations range from $3,000 to $8,000 including professional work.
2. How do I ensure proper drainage in a curbless shower?
A. Maintain a floor slope of 1/4 inch per foot toward the drain, using a linear or point drain system.
3. Can a curbless shower be installed in a small bathroom?
A. Yes, custom sizing and efficient layouts allow even compact bathrooms to accommodate a curbless shower.
4. How steep should the shower floor slope be?
A. The recommended slope is 1/4 inch per foot toward the drain for optimal water flow without discomfort.
5. What are the main differences between a curbless shower and a traditional shower?
A. Curbless showers have no threshold, offering seamless access and open design, while traditional showers have raised curbs that may limit accessibility.
Conclusion
Curbless showers are an excellent choice for modern, safe, and accessible bathrooms. Paying attention to dimensions, slope, drainage, and waterproofing ensures a functional and long-lasting installation. Proper planning, high-quality materials, and skilled professionals can transform your bathroom into a sleek, open, and user-friendly space that enhances both comfort and home value.
- Curbless Shower Installation Steps, Requirements and Tips - March 24, 2026
- Barrier-Free Shower Design Benefits and Installation Tips - March 23, 2026
- How to Clean a Jetted Whirlpool Tub Step by Step Guide - March 20, 2026