Installing a shower seat with a tile wall mount is a smart move if you’re aiming for more comfort, accessibility, and safety in your bathroom. Whether you’re planning for aging in place or simply want a more relaxing shower experience, a wall-mounted shower seat can make a big difference. In this guide on how to install a shower seat with tile wall mount, we’ll walk you through the process step by step, covering everything from seat types to installation tips.
Why & How to Install a Shower Seat with Tile Wall Mount
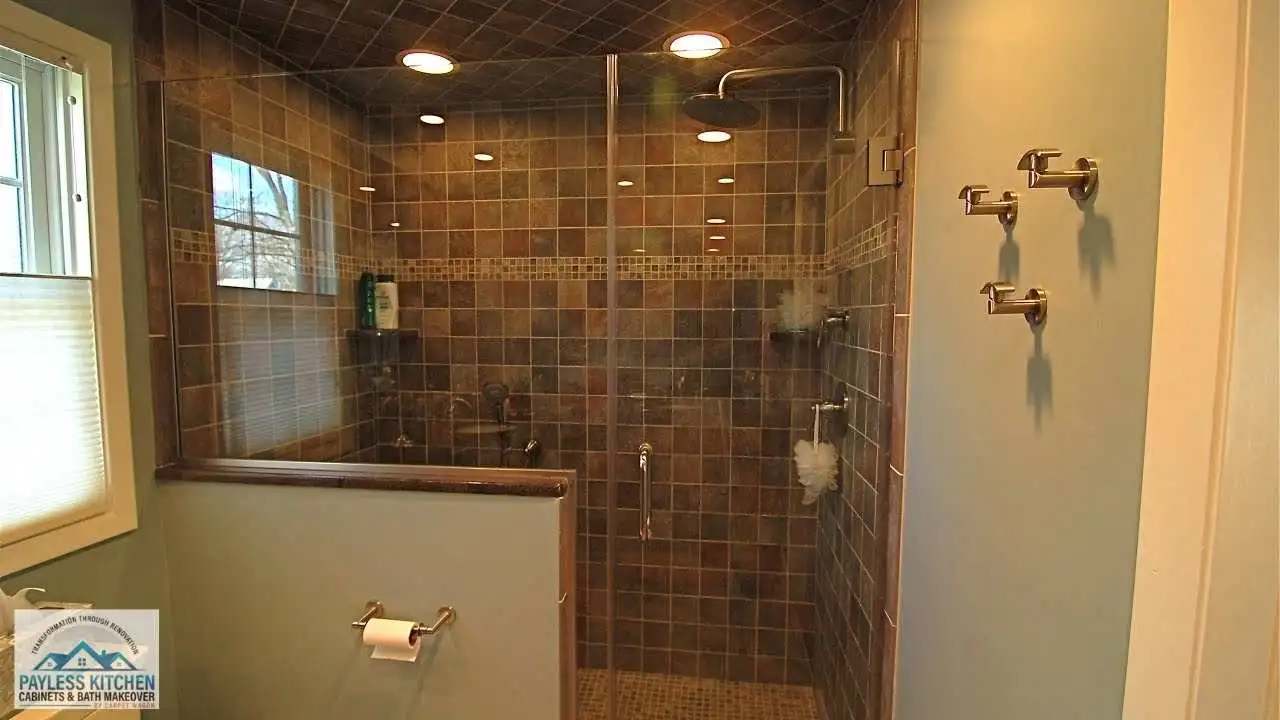
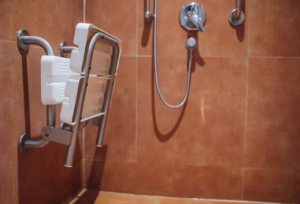
A shower seat brings added comfort, especially for those who may have difficulty standing for long periods. It’s also a safer option for anyone recovering from surgery or living with mobility challenges. Plus, it adds a touch of luxury that many homeowners appreciate. Installing one on a tiled wall is possible, and with the right preparation, it can be a straightforward weekend project.
Key Considerations Before You Begin
Before picking up your tools, there are a few things to think about. You’ll need to find out if your shower wall has wooden studs behind the tile, since the seat needs to be secured into something strong. Also, consider the height and location that would be most comfortable for the primary user. Planning will save you time and hassle later.
Types of Shower Seats for Tiled Walls
Fold-Down vs. Fixed Shower Seats
Fold-down seats are ideal for smaller showers or if multiple people use the space. You can’t tuck them away when not in use. Fixed seats, on the other hand, stay in place and are often sturdier. Choose what suits your space and preferences best.
Materials and Weight Capacity
Shower seats come in a variety of materials, including plastic, wood, stainless steel, and teak. Make sure the one you choose can support the weight needed and is designed for wet environments.
ADA-Compliant Options
If you’re installing a seat for accessibility, look for models that meet ADA guidelines. These are designed with specific height, width, and support requirements to make showers safer for individuals with disabilities.
Specific Tools and Materials You’ll Need to Install a Shower Seat with Tile Wall Mount
Essential Tools Checklist
- Drill with masonry bits
- Stud finder
- Level
- Measuring tape
- Screwdriver
- A pencil or a marker for marking
Recommended Shower Seat Models for Tile Walls
Look for wall-mounted shower seats that specifically say they’re compatible with tiled walls. Brands like Moen, Kohler, and CSI Bathware offer reliable options.
Safety Gear and Preparation Supplies
- Safety goggles
- Dust mask
- Gloves
- Painter’s tape
- Silicone caulk for sealing
Pre-Installation Planning
Choosing the Right Location
The seat should be installed where it provides the most comfort and functionality. Typically, that means placing it along the back or side wall of the shower. Make sure the location lines up with at least two wall studs for strong support.
Checking Tile Type and Wall Composition
Some tile types are harder and more brittle than others. Porcelain, for instance, requires a bit more patience and the right drill bit. Make sure you understand what you’re working with so you don’t crack or chip the surface.
Measuring and Marking the Mounting Area
Use your level and measuring tape to mark where the brackets or mounting plate will go. Take your time here. Accurate measurements make the installation easier and the final result cleaner.
Step-by-Step Installation Process used by Payless Bath Makeover
- Locate and Mark Studs: Use your stud finder to locate studs behind the tile. Mark them clearly with a pencil. You’ll want your mounting hardware to go directly into these studs for a strong hold.
- Drill Through Tile Safely: Using a carbide-tipped masonry bit, drill slowly to avoid cracking the tile. Don’t use the hammer function on your drill. Keep the bit cool and steady.
- Install Wall Anchors or Mounting Brackets: If the mounting hardware doesn’t align perfectly with the studs, you may need wall anchors rated for high loads. Otherwise, drill pilot holes into the studs and install the brackets or mounting plate as directed by the seat manufacturer.
- Attach the Shower Seat: Once the brackets are secure, attach the seat. Make sure it clicks or locks into place, depending on the design. Double-check the alignment and make any small adjustments before tightening fully.
- Secure and Test the Mount: Sit on the seat gently to test it. Wiggle it slightly to confirm it’s stable. If anything feels loose, go back and tighten the hardware. Apply silicone around the brackets to prevent water from seeping in.
Why Trust Payless Bath Makeover for Safe and Reliable Installation
Installing a shower seat on a tiled wall involves precision, the right tools, and knowledge of how to install a shower seat with tile wall mounts. If the seat isn’t properly secured into studs or reinforced with the right anchors, it can fail over time, and that poses a serious safety risk. A professional knows how to avoid these issues and delivers an installation that’s both strong and long-lasting.
Payless Bath Makeover brings years of specialised experience in bathroom upgrades, including safe, reliable shower installations. Their team understands how to work with different tile types, locate studs without error, and finish every project with a clean, polished look. With Payless, you get peace of mind knowing the job is done right the first time, no guesswork, no loose fittings, just dependable comfort and safety built into your shower.
Tips for a Professional-Grade Installation
Waterproofing Around Mounting Points: Use silicone sealant generously around any drilled holes to keep water out of the wall cavity. This helps prevent mold and structural damage over time.
Ensuring Load-Bearing Integrity: Always install into studs when possible. If your wall lacks proper support, consider reinforcing it from the other side or consulting a handyman.
Sealing and Finishing Touches: Clean the area well after installation. Remove any dust or debris and run a final bead of caulk along seams and edges. This gives your installation a polished finish.
Common Mistakes to Avoid
Ignoring Stud Placement: Mounting directly into tile without hitting a stud is a recipe for failure. Always know what’s behind the wall before drilling.
Using the Wrong Anchors: Not all wall anchors are created equal. Use heavy-duty anchors designed for bathroom use and weight-bearing installations.
Improper Levelling or Alignment: A crooked seat isn’t just an eyesore; it can also be unsafe. Always use a level and measure twice.
Maintenance and Safety Tips
Routine Inspection for Stability
Over time, screws can loosen slightly. Check the seat every few months to make sure it still feels stable and tight.
Cleaning Without Damaging Tile or Hardware
Use non-abrasive cleaners to avoid scratching the tile or corroding metal parts. A quick wipe-down after each use helps keep things in top shape.
When to Replace or Reinforce
If you notice any movement, cracking, or rust, it may be time to tighten screws or even replace the seat. Don’t take chances with something that’s meant to support body weight.
Alternatives to Wall-Mounted Shower Seats
- Freestanding Shower Chairs: These are good for temporary use or when wall-mounting isn’t an option. They offer flexibility and are easy to move in and out of the shower.
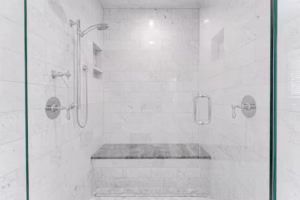
- Corner-Mounted or Bench Options: Corner seats can be built into the shower design or added as a separate unit. They offer a more permanent solution without the need for wall mounting.
Conclusion
Installing a shower seat with a tile wall mount isn’t just about comfort; it’s about creating a safer, more user-friendly bathroom. With the right tools and planning, this is a project you can take on confidently. Follow the steps carefully, make sure everything is secured properly, and you’ll have a sturdy, stylish addition to your shower that offers years of reliable use. Need professional help? We offer expert services on how to install a shower seat with a tile wall mount; contact us today to schedule your installation!
- Shower Remodel Cost Materials, Labor and Budget Guide - March 13, 2026
- Ceramic vs Porcelain Tile Differences, Cost and Durability - March 11, 2026
- Waterproof Bathroom Panels Benefits, Features, and Installation - March 9, 2026