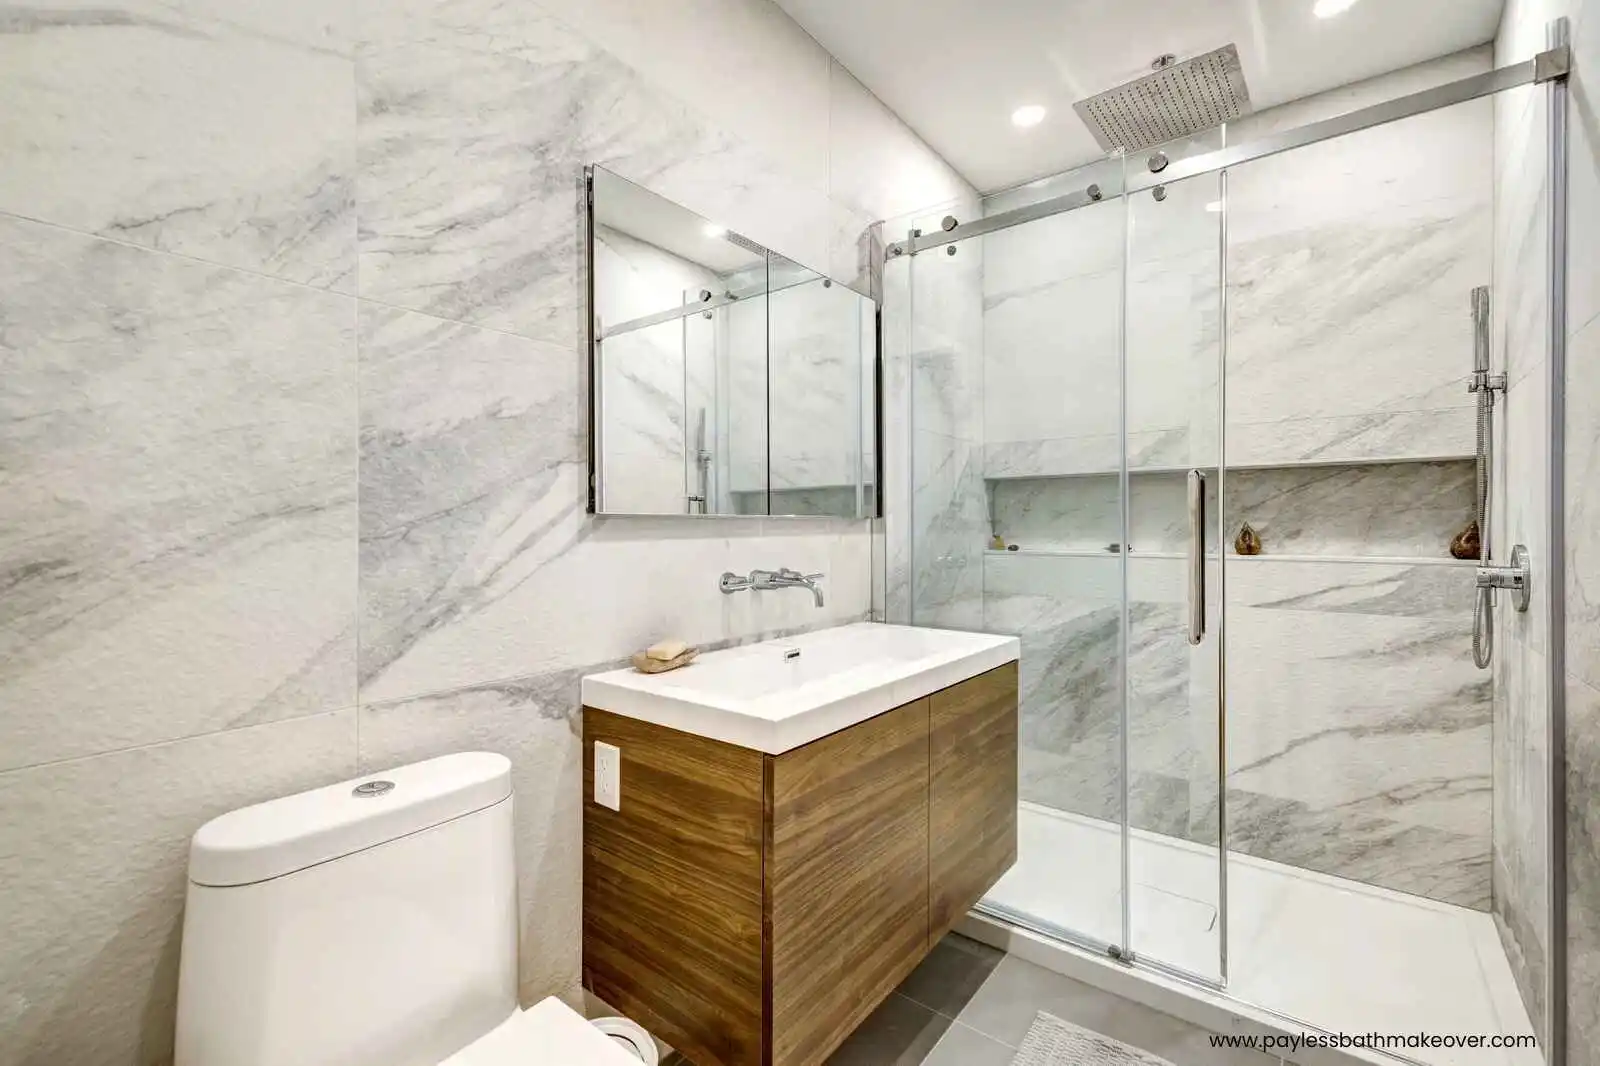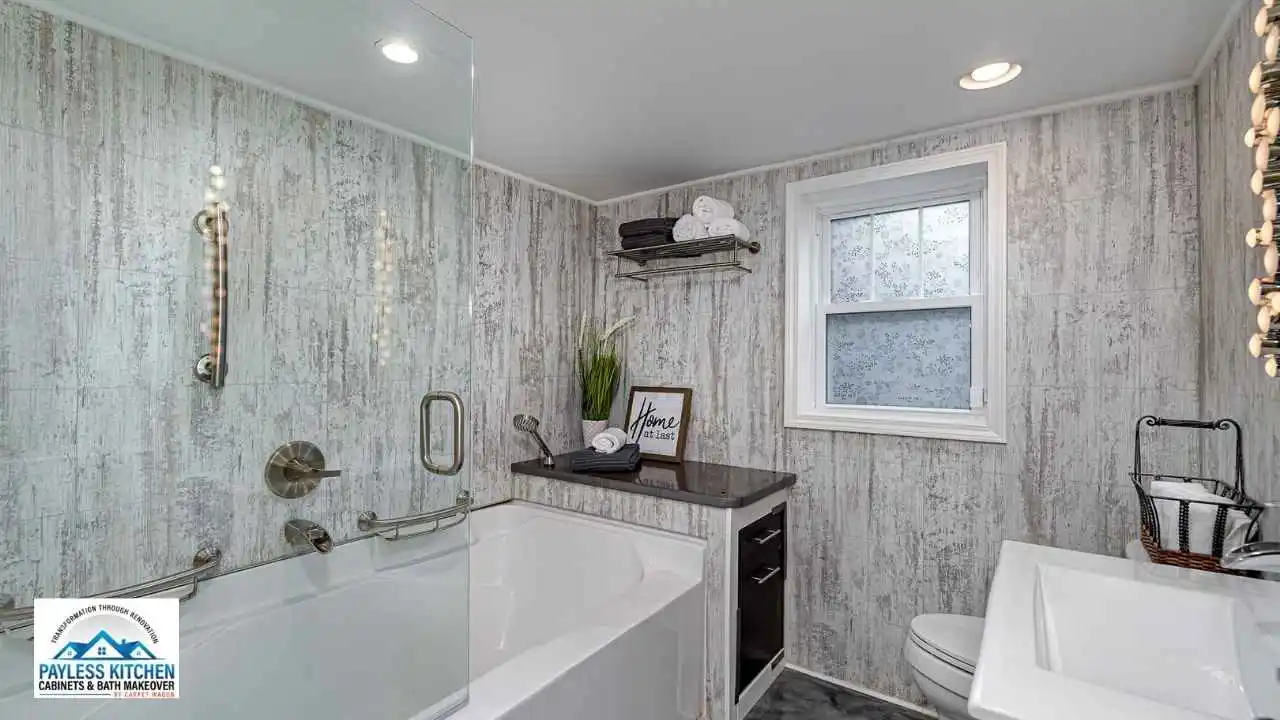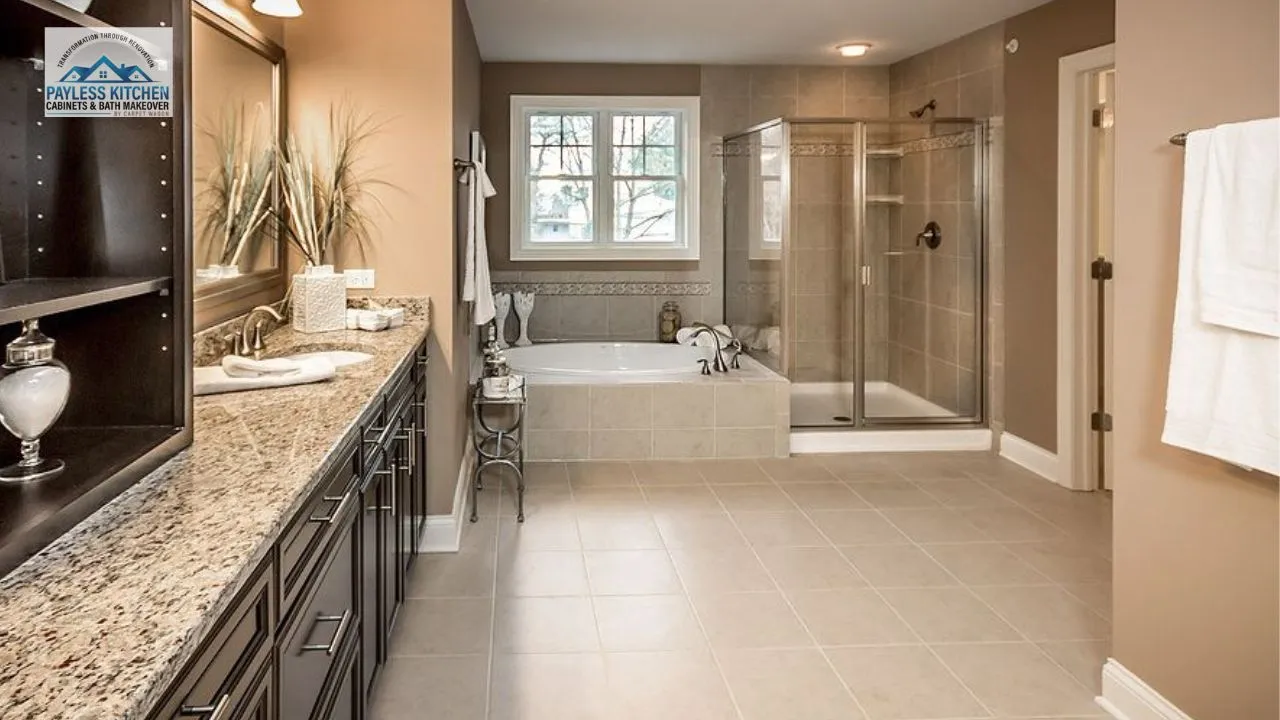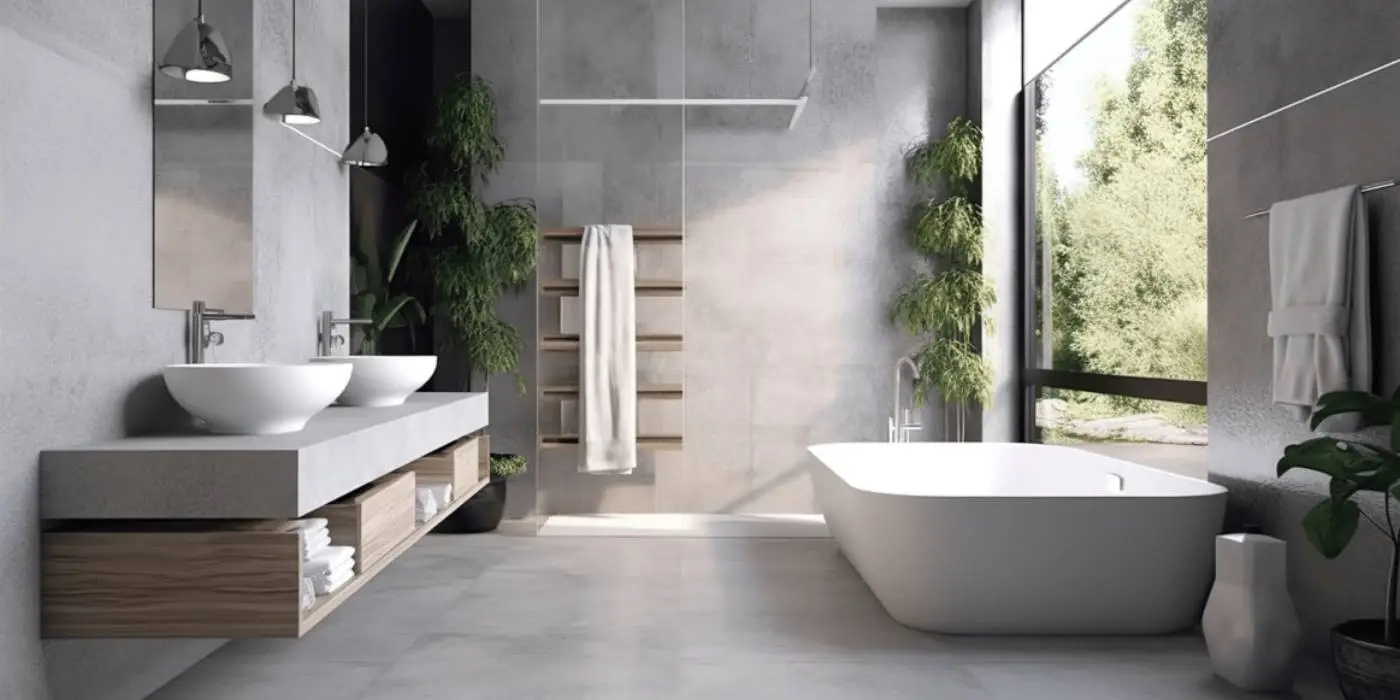
Installing shower wall panels is one of the most effective ways to upgrade a bathroom with a clean, modern, and waterproof finish. Many homeowners choose this option because it is faster than traditional tile work and easier to maintain. Learning how to install shower wall panels correctly helps ensure a long-lasting result that protects your bathroom from moisture damage while improving its overall appearance.
Understanding Shower Wall Panels Before Installation
Before starting the installation process, it is important to understand what shower wall panels are and how they work. These panels are designed to create a smooth, waterproof surface that replaces traditional tile and grout.
Types of Waterproof Shower Wall Panels
There are several types of waterproof shower wall panels used in bathroom remodeling. Each option offers different benefits depending on style and budget.
- Acrylic panels: Lightweight, glossy, and easy to clean
- PVC panels: Affordable and highly moisture-resistant
- Laminate panels: Stylish with a wide range of finishes
- Composite panels: Durable and designed for long-term use
Each type is made to resist water and mold, making them ideal for wet shower environments.
Benefits of Using Shower Wall Panels
Shower wall panels offer several advantages over traditional tile installation. They are designed for convenience and durability.
- Easy to clean with no grout lines
- Faster installation compared to tile
- Smooth, seamless waterproof surface
- Modern appearance with multiple design options
- Long-lasting protection against moisture damage
These benefits make panels a popular choice for homeowners planning a bathroom upgrade.
Shower Panel Installation Tools Needed and Preparation
Proper tools and preparation are essential for a successful installation. Skipping this step can lead to uneven panels or water leaks later.
Essential Installation Tools
Before starting the project, gather all necessary tools:
- Measuring tape for accurate sizing
- Spirit level for alignment
- Utility knife or fine saw for cutting panels
- Waterproof adhesive suitable for bathrooms
- Caulking gun for sealant application
- Cleaning cloths and surface cleaner
Having the right tools ensures a smoother and more precise installation process.
Preparing the Shower Walls Properly
Wall preparation is one of the most important steps in the installation process. The surface must be clean, dry, and even.
- Remove old tiles, paint, or loose material
- Repair cracks or uneven wall areas
- Clean surfaces to remove dust, grease, or soap residue
- Allow walls to dry completely before installation
A well-prepared surface helps panels bond properly and prevents future issues.
Shower Wall Panels Installation Steps
Once the preparation is complete, you can begin installing the panels step by step.
Step-by-Step DIY Shower Wall Panel Installation
The DIY shower wall panel installation process requires patience and accuracy.
- Measure the shower walls carefully
- Cut panels to match wall dimensions
- Dry fit panels before applying adhesive
- Apply adhesive evenly on the wall or panel
- Press panels firmly into place and check alignment
- Wipe away excess adhesive immediately
Taking time during alignment ensures a clean and professional finish.
Acrylic Shower Wall Panel Installation Process
Acrylic shower wall panel installation is slightly different due to the lightweight nature of the material.
- Handle panels carefully to avoid scratches
- Position panels starting from one corner
- Ensure edges align tightly for a seamless look
- Press evenly across the surface for proper bonding
- Allow curing time before exposing to water
Acrylic panels are popular because they are easy to install and maintain.
Shower Wall Panel Adhesive and Sealing Techniques
Proper adhesive and sealing techniques are essential for waterproof performance.
Choosing the Right Adhesive
Selecting the correct adhesive ensures long-term durability in wet areas.
- Use waterproof construction adhesive
- Avoid general-purpose glue not rated for bathrooms
- Follow manufacturer recommendations for best results
Strong adhesive prevents shifting and maintains a secure bond over time.
Proper Sealing for Waterproof Protection
Sealing is the final step that protects your shower from leaks.
- Apply silicone sealant along all edges and joints
- Seal corners and base areas carefully
- Smooth sealant for a clean, finished look
- Allow proper curing time before use
Good sealing ensures complete waterproof protection and prevents mold growth.
Bathroom Wall Panel Installation Guide for Best Results
A successful installation depends on careful planning and execution. Always double-check measurements before cutting panels. Keep the workspace dry and well-ventilated during installation. Ensure panels are aligned evenly to maintain a professional appearance. Following a bathroom wall panel installation guide helps reduce errors and improves long-term durability.
Benefits of Installing Shower Wall Panels
Installing shower wall panels offers several practical and aesthetic benefits for homeowners.
- Quick and efficient installation process
- Low maintenance with easy cleaning
- Strong resistance to mold and moisture
- Modern and seamless bathroom design
- Long-lasting durability with proper care
These advantages make panels a smart alternative to traditional tile systems.
Common Shower Wall Panel Installation Mistakes
Avoiding common mistakes can save time, money, and repair work.
- Poor wall preparation before installation
- Using incorrect adhesive or sealant
- Incorrect measurements leading to gaps
- Misaligned panels affecting appearance
- Skipping sealing around edges and joints
Careful planning and attention to detail help avoid these issues.
FAQs
How do you install shower wall panels step by step?
Start by measuring and preparing the wall, then cut and dry fit panels. Apply adhesive, position panels carefully, and seal all joints for waterproof protection.
Can shower wall panels be installed over existing tiles?
Yes, in many cases they can be installed over existing tiles if the surface is clean, stable, and level.
What tools are needed for shower panel installation?
Common tools include a measuring tape, level, utility knife, adhesive, caulking gun, and cleaning supplies.
Are shower wall panels waterproof and durable?
Yes, most panels are designed to be fully waterproof and resistant to mold, making them suitable for long-term bathroom use.
What is the most common mistake during installation?
The most common mistake is poor sealing or incorrect wall preparation, which can lead to water leaks and panel movement.
Conclusion
Learning how to install shower wall panels helps homeowners achieve a clean, modern, and waterproof bathroom finish. With proper preparation, the right tools, and careful installation steps, panels can provide long-lasting performance and easy maintenance. For more complex layouts or professional results, expert installation can help ensure everything is done correctly and efficiently.
- How to Install Shower Wall Panels: Step-by-Step Guide - April 9, 2026
- Spa-Like Bathroom Designs, Ideas, Features and Layout Tips - April 6, 2026
- Bathroom Wall Paneling Ideas, Designs, Materials and Styles - April 3, 2026