Installing a bathtub is one of the most rewarding parts of a bathroom remodel. Whether you’re replacing an old tub, upgrading to a modern walk-in model, or simply freshening up your bathroom’s look, proper planning makes all the difference. A clear checklist ensures your bathtub is installed safely, efficiently, and built to last.
Step 1: Get the Space Ready
Before you start installing a bathtub, take time to prepare your bathroom. Remove the old tub carefully and inspect the surrounding walls and floor for any signs of water damage. Check the existing plumbing connections to make sure everything is still solid.
Measure your new bathtub to confirm it fits properly. If you’re planning to install a walk-in bathtub, you’ll likely need extra space for the door and built-in seat. Clear any debris, dry the area, and confirm that your subfloor is level before proceeding.
Step 2: Adjust Plumbing and Drain Lines
A successful installation depends on proper plumbing. When learning how to install a new bathtub, make sure your drain and water supply lines align with your new tub. This step is essential if your new model differs in size or style from the old one.
If you’re unsure about handling pipes or fittings, consider professional bathtub installation services like Payless Bath Makeover. Professionals can easily adjust your bathtub drain plumbing, ensuring leak-free performance and compliance with building codes.
Step 3: Position and Level the Bathtub
Once your plumbing is ready, move the new bathtub into place. Use a level to make sure it sits evenly on the floor. A bathtub that isn’t level can cause drainage issues or even cracks over time.
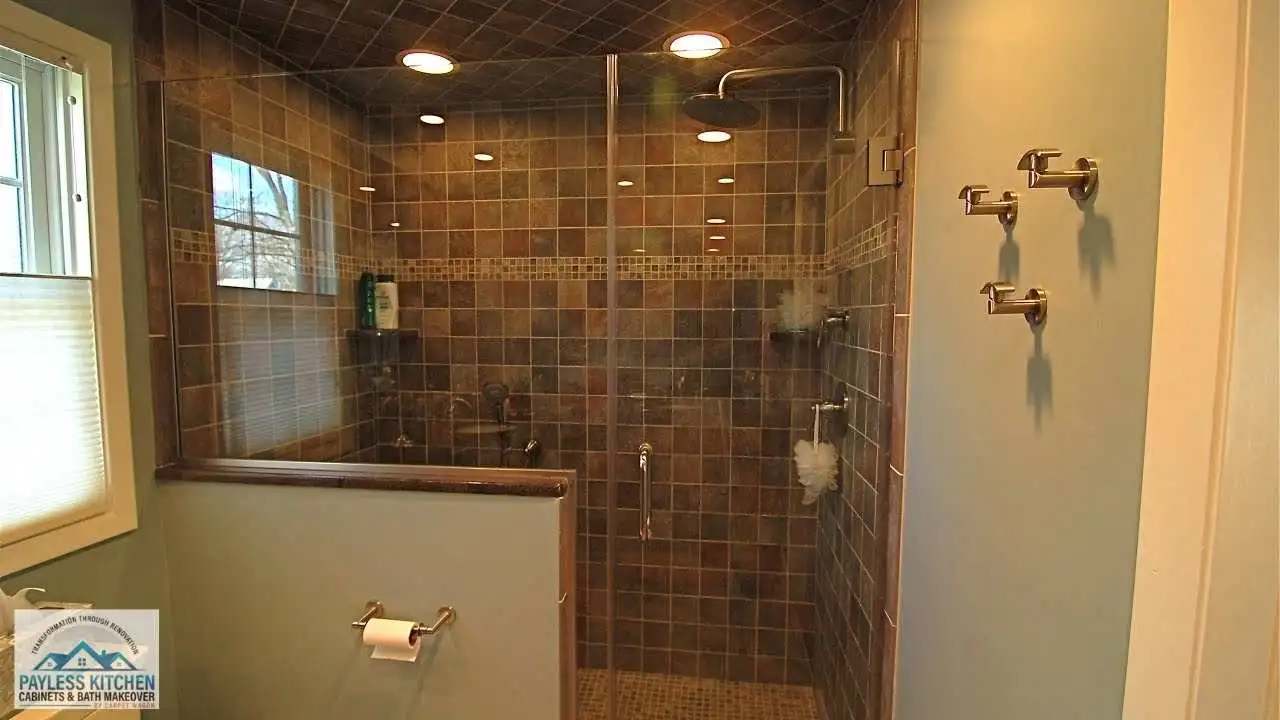
For added stability, use mortar or a manufacturer-approved support base underneath. Once set, secure the tub to the wall studs using brackets or screws. If your remodel includes installing a bathtub and surround, this is the time to attach wall panels or tiles for a watertight finish.
Step 4: Connect the Drain Assembly
The next step is installing a bathtub drain. Apply plumber’s putty under the drain flange, press it into the drain hole, and tighten it with a wrench. Then, connect the overflow pipe and check for leaks with a small amount of water.
When you install bathtub drain plumbing, precision matters one loose fitting can lead to expensive water damage later. Always double-check your seals before moving forward.
Step 5: Install the Faucet and Spout
Now that your drain is sealed, it’s time to install a bathtub faucet. Attach the faucet body to your water supply lines, wrapping the threads with Teflon tape for a secure, watertight connection.
Next comes how to install a bathtub spout or how to install a bathtub faucet spout. Screw the spout onto the pipe extending from the wall, again using Teflon tape to prevent leaks. Once it’s snug, turn the water back on and test the faucet for proper flow and temperature balance.
If your bathtub includes a shower diverter, connect it according to the manufacturer’s directions.
Step 6: Seal and Finish the Installation
With everything connected, give your new tub a final inspection. Fill it halfway with water and drain it to ensure proper flow and no leaks. Then apply silicone caulk around the edges where the tub meets the wall and floor.
Sealing these gaps keeps water from seeping into the walls and adds a clean, polished look. Let the caulk cure for 24 hours before using the tub.
If you’re learning how to install a walk-in bathtub, you’ll also need to test the door seal and any additional features such as jets or heating elements.
Step 7: Final Safety and Efficiency Tips
- Always shut off your main water supply before disconnecting old plumbing.
- Use high-quality caulk and plumbing tape for long-term durability.
- Keep the area clean and organized during installation.
- Double-check all connections before sealing the tub permanently.
Even if you’re confident in your DIY skills, hiring professionals can save time and prevent future issues. Payless Bath Makeover specializes in safe, efficient installations that transform bathrooms into comfortable, beautiful spaces. Whether you need help with installing a bathtub faucet, drain, or a complete remodel, our team handles every step with care.
Ready to Install Your New Bathtub?
Installing a bathtub the right way takes more than tools it takes expertise. At Payless Bath Makeover, we handle everything from plumbing adjustments to final sealing so that you can enjoy a beautiful, worry-free bathroom upgrade.
- ✔ Professional bathtub installation by licensed experts
- ✔ Leak-free, code-compliant plumbing connections
- ✔ Fast, efficient service that saves time and hassle
FAQs
Q1: Can I install a bathtub by myself?
Yes, but it depends on your experience with plumbing and remodeling. Simple replacements can be DIY-friendly, but for complex tubs or plumbing changes, professional help is recommended.
Q2: How long does it take to install a new bathtub?
A straightforward installation can take about a day, while more detailed projects like installing a bathtub and surround may take two to three days.
Q3: Do I need a plumber to install a bathtub faucet and drain?
If you’re not comfortable working with pipes or water lines, it’s best to hire bathtub installation services to handle the plumbing safely.
- Shower Remodel Cost Materials, Labor and Budget Guide - March 13, 2026
- Ceramic vs Porcelain Tile Differences, Cost and Durability - March 11, 2026
- Waterproof Bathroom Panels Benefits, Features, and Installation - March 9, 2026