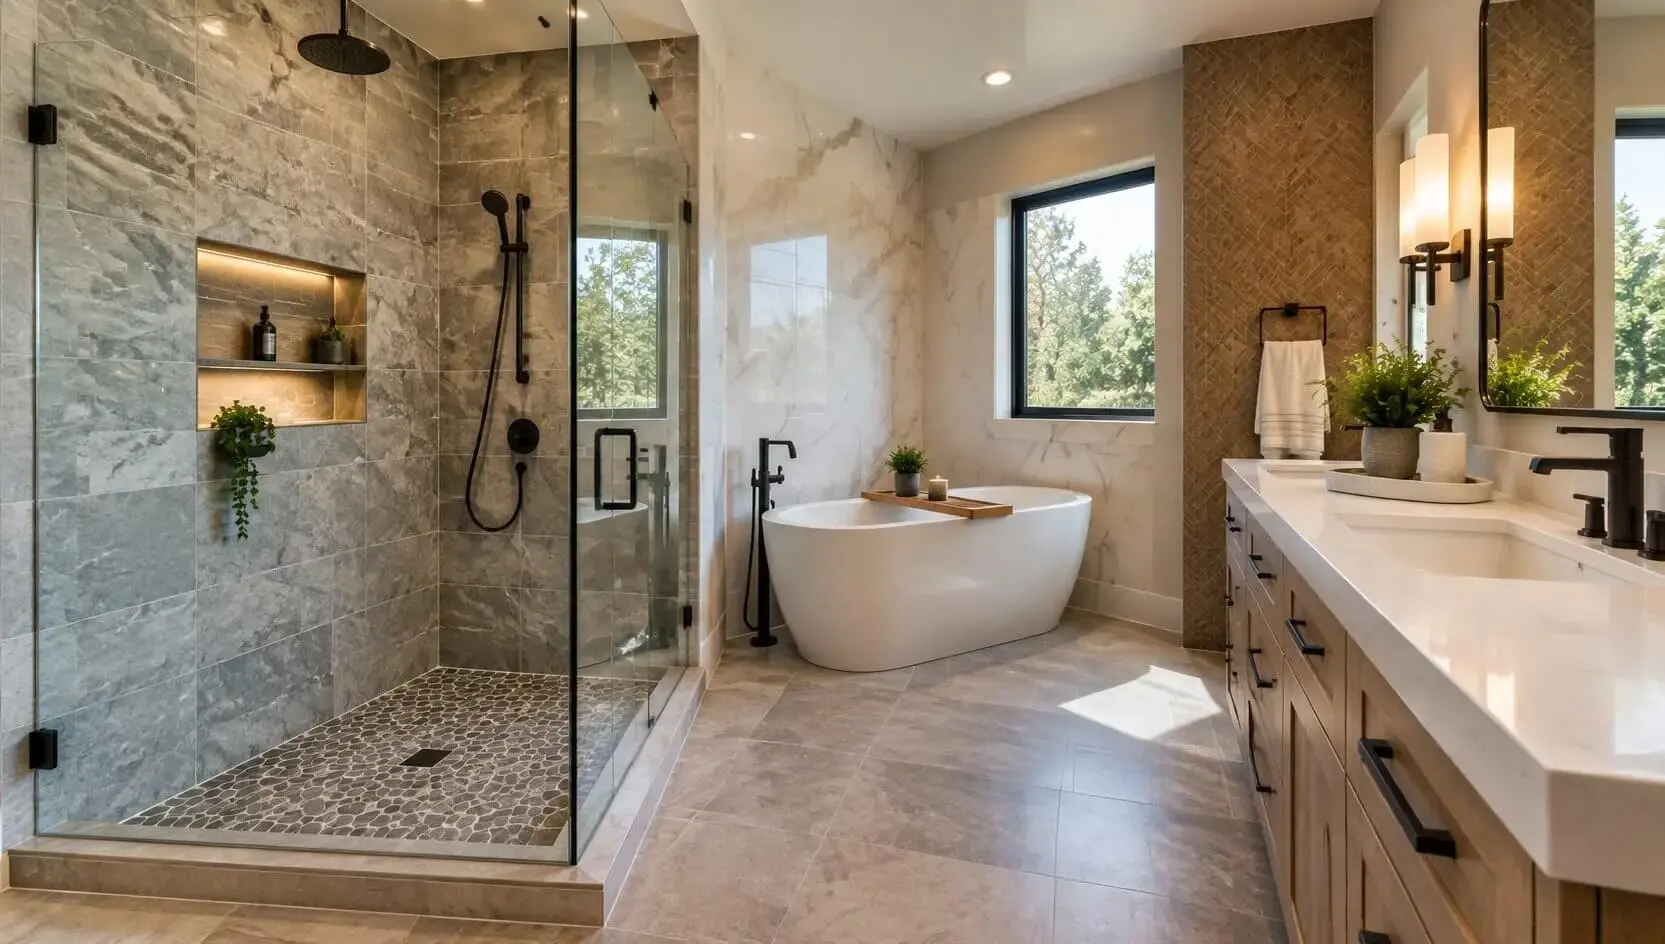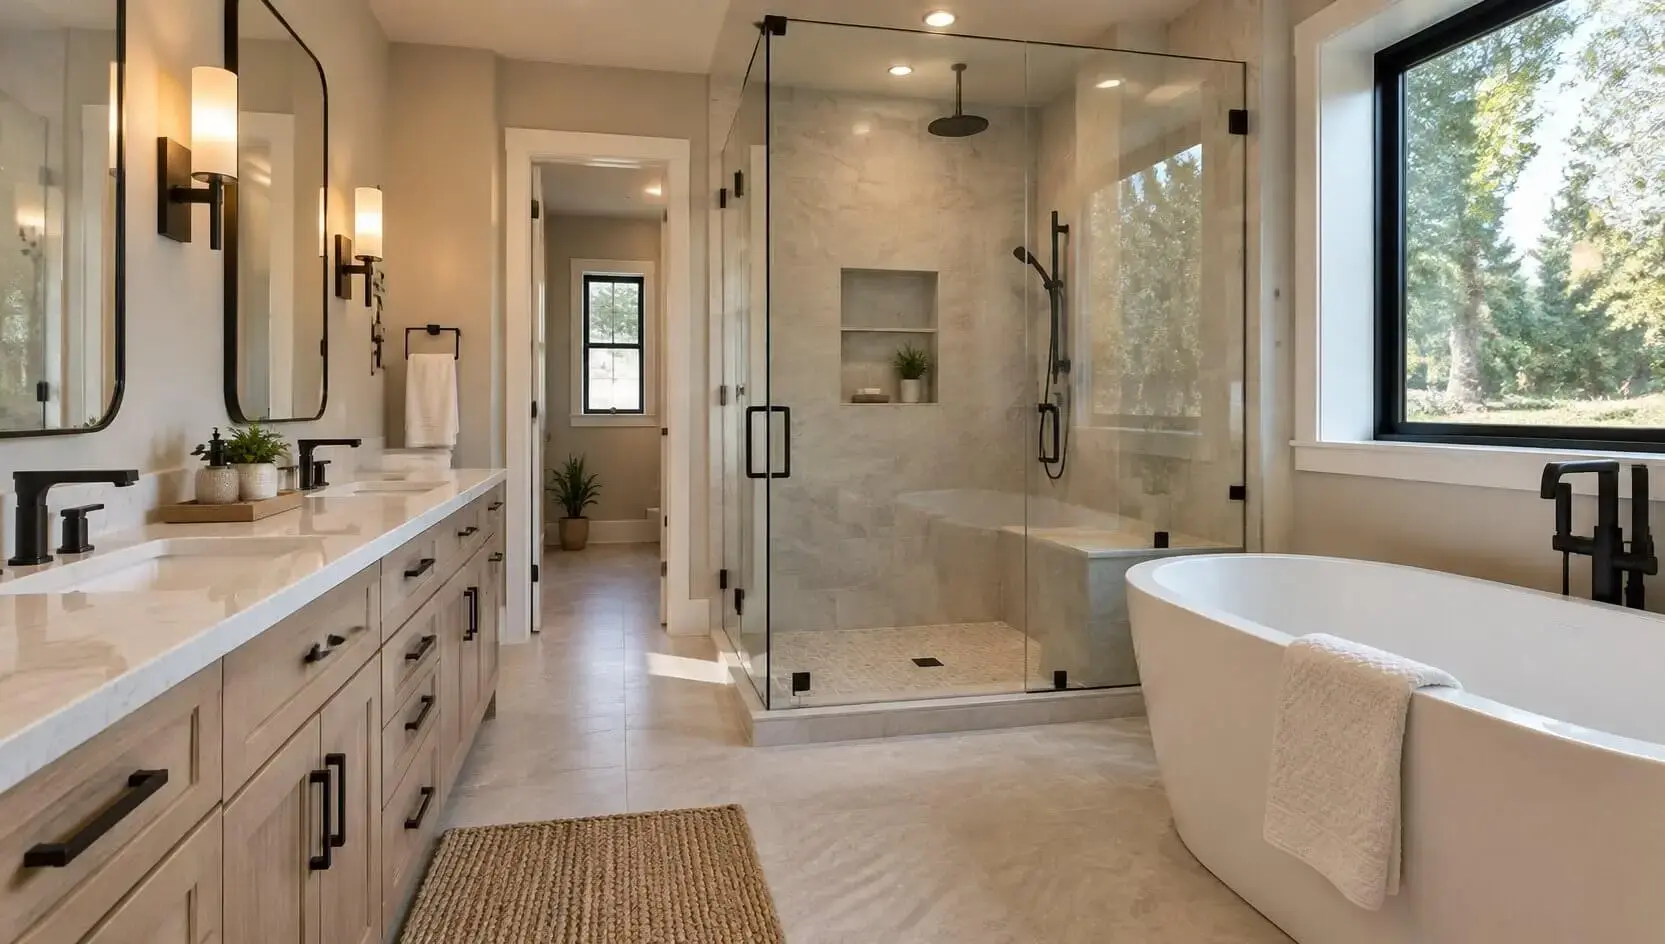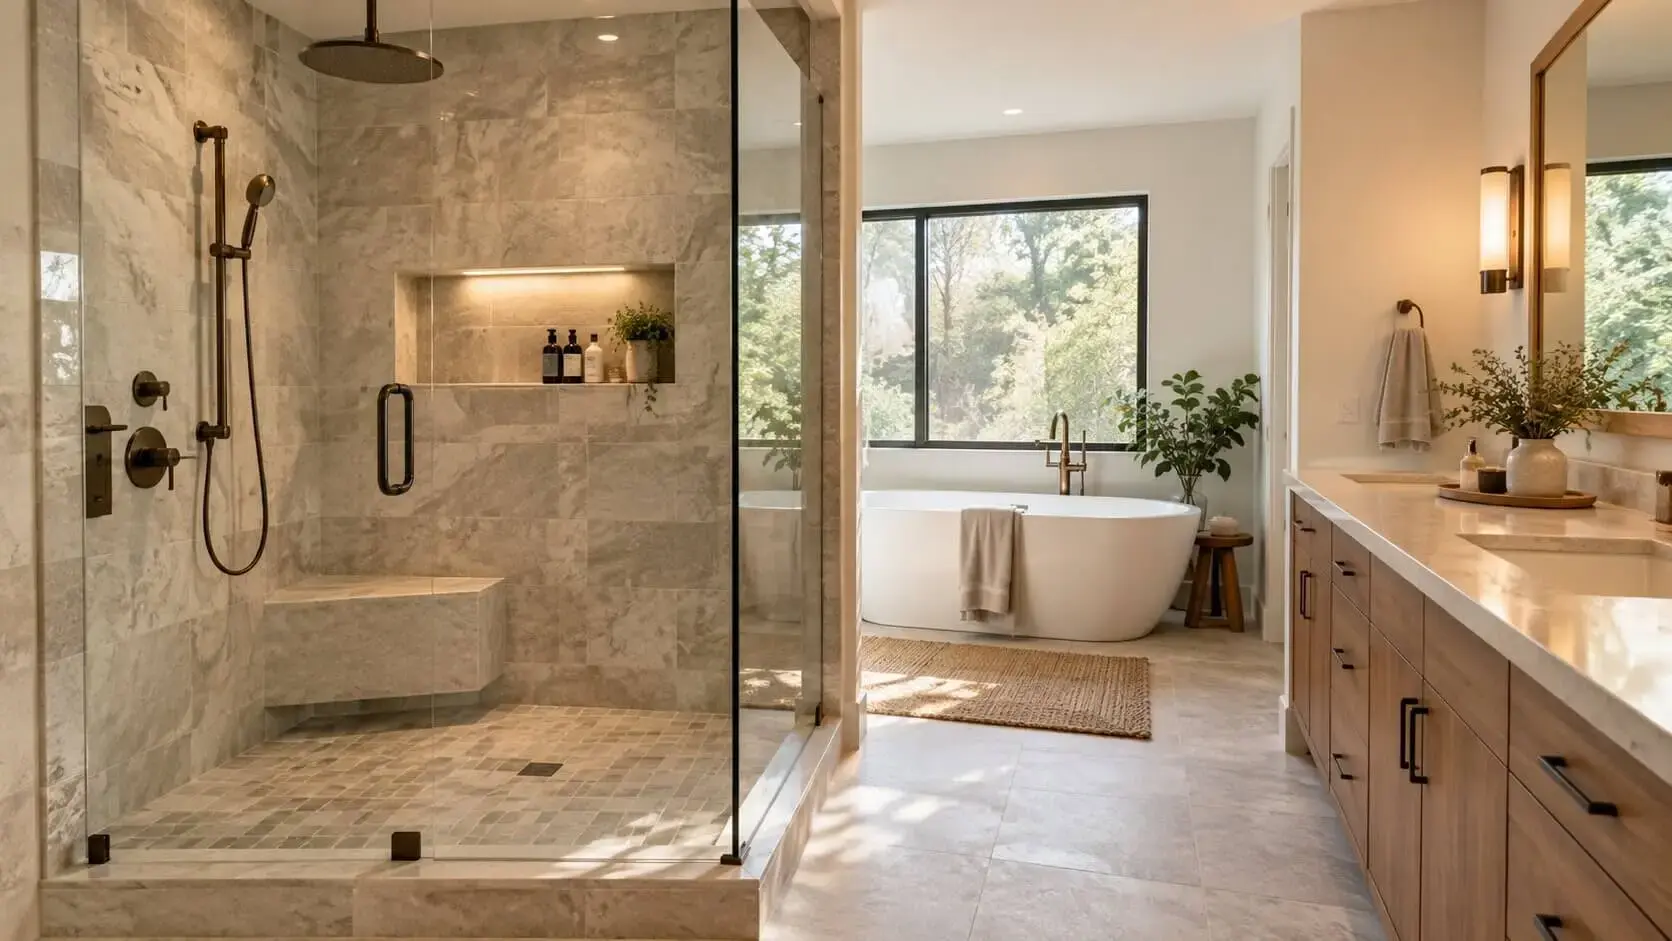
Curbless showers have exploded in popularity thanks to their sleek, modern aesthetic and accessible zero-threshold design. However, removing the physical barrier that traditionally keeps water contained raises an urgent question for homeowners during a remodel: do we need a drain outside a curbless shower?
Understanding how water behaves on flat, continuous surfaces is crucial before tearing up your bathroom floor. In this comprehensive guide, we will break down drainage mechanics, building codes, and smart design strategies to help you decide whether a secondary outside drain is necessary for your home.
Understanding the Curbless Shower System and Drainage Dynamics
What Is a Curbless Shower System and How Does It Work?
A curbless shower system is a barrier-free shower enclosure where the bathroom floor transitions seamlessly into the shower pan without a step or raised curb. Instead of relying on a physical wall to hold water in, these systems rely strictly on gravity, precise floor sloping, and strategically placed drains.
Water is directed toward the shower drain through a gentle, continuous pitch built directly into the subfloor. When installed correctly, the surface water flows toward the waste line immediately upon hitting the floor, preventing pools from forming near the dry zone of the bathroom.
The Core Difference Between Curbless, Doorless, and Standard Showers
Standard showers rely on a 2- to 4-inch curb that acts as a dam, giving pooled water time to drain before it can overflow onto your bathroom floor. Curbless showers eliminate this step entirely, creating a smooth transition that requires precise subfloor engineering to manage water flow.
Doorless showers take this open concept a step further by eliminating glass partitions, allowing overspray and mist to travel freely. When you combine a curbless entry with a doorless setup, managing water splash radii becomes your top priority during construction.
Do We Need a Drain Outside a Curbless Shower? (The Quick Answer)
In most standard residential installations, you do not strictly need a drain outside a curbless shower, provided the shower floor has the correct pitch and the drain capacity matches your showerhead’s output. Proper floor sloping inside the shower area usually keeps water where it belongs.
However, if you are designing an open, doorless shower layout, using high-flow rainfall showerheads, or building a small bathroom with limited floor space, adding a secondary drain outside the threshold provides invaluable insurance against accidental flooding.
Key Factors That Determine If You Need an Outside Drain
| Factor | Low Risk (No Outside Drain Needed) | High Risk (Outside Drain Recommended) |
| Enclosure Type | Enclosed Glass Door | Open / Doorless |
| Bathroom Size | Large (Spacious Layout) | Compact / Small Footprint |
| Showerhead Type | Standard (Low GPM) | High-Flow / Body Jets |
| Waterproofing Scope | Shower Zone Only | Full Room Waterproofed |
Shower Enclosure Design: Open/Curbless Doorless Shower vs. Glass Doors
Your choice of enclosure heavily influences how much water leaves the designated shower area. Installing a fixed glass panel or a sliding door creates a physical boundary that deflects water back toward the primary drain, reducing the need for an external drain.
Conversely, a completely open curbless doorless shower offers zero splash protection. Water droplets naturally bounce off your body and travel onto the main floor, making an auxiliary drain outside the entry threshold a smart structural safeguard.
Bathroom Layout, Size, and Water Splatter Radius
The size of your bathroom plays a significant role in managing overspray. In a spacious layout, water droplets usually land well within the waterproofed shower footprint and evaporate naturally or run toward the primary drain.
In compact or narrow bathrooms, the splatter radius of a standard showerhead often extends past the shower zone directly onto the main drying area. Without an outside drain, water can accumulate near vanity cabinets, baseboards, and doorways.
Showerhead Placement, Spray Angle, and Water Pressure Volume
Where you position your plumbing fixtures directly impacts floor drainage performance. A showerhead angled toward the open shower entrance practically guarantees that water will migrate beyond the shower boundary.
Furthermore, high-volume fixtures such as rainfall showerheads, multiple body jets, or high-GPM thermostatic valves discharge water faster than standard drains can evacuate it. If your fixtures push high volumes of water, a secondary drain outside the shower helps manage potential overflow.
Building Codes, Waterproofing, and Floor Sloping Standards
International Residential Code (IRC) & Local Plumbing Code Requirements
Building codes focus heavily on water containment and proper drainage capacities. According to standard plumbing codes, a shower pan must slope toward the drain at a pitch of 1/4 inch per foot to ensure continuous, efficient water flow.
While code requires every shower to have a primary drain, most local jurisdictions do not explicitly mandate a secondary drain outside a curbless shower. However, codes do mandate that any area exposed to heavy water flow must be completely impervious to moisture.
The Importance of Continuous Waterproofing (Wet Room Conversion)
Removing the curb means you can no longer isolate the shower’s moisture zone from the rest of the bathroom. To prevent long-term structural rot and mold, waterproofing membrane systems must extend beyond the shower threshold.
Treating the surrounding floor as a wet room conversion ensures that any stray water that slips past the shower zone won’t seep through grout lines into the subfloor below, protecting your home’s framing.
Proper Floor Sloping Mechanics: Pitching Inside and Outside the Shower Zone
Achieving a functional zero-threshold floor requires careful calculation of subfloor height. Contractors usually lower the subfloor joists inside the shower zone to allow enough depth for a pre-sloped pan to sit flush with the surrounding floor.
To further protect the bathroom, professional tile installers often pitch the main bathroom floor slightly back toward the shower at the entrance. This micro-slope acts as an invisible gravity barrier that pushes rogue water back toward the main shower drain.
Shower Drain Options for Curbless Installations
Standard Center Shower Drain Systems
Traditional point drains sit in the center of the shower floor, requiring a four-way “envelope” slope where tile pitches downward from all four corners. While cost-effective, center drains can be tricky to integrate into curbless designs because the multi-directional slope can create awkward transitions at the flat threshold.
Curbless Shower Linear Drain Advantages (Wall-to-Wall Drainage)
A curbless shower with linear drain technology is often the ideal choice for modern zero-threshold bathrooms. Linear drains allow the entire shower floor to slope in a single, continuous plane toward a sleek channel along one wall.
| Drain Type | Slope Geometry | Tile Compatibility | Water Capture Efficiency |
| Center Point Drain | 4-Way Envelope | Small Mosaic Tiles | Standard Efficiency |
| Linear Drain | Single-Direction Plane | Large-Format Tiles | High Capacity Efficiency |
| Entrance Trench Drain | Dual Micro-Slopes | Custom Format | Maximum Threshold Barrier |
Because the floor tilts in only one direction, installers can use large-format tiles without complex diagonal cuts, creating a cleaner look while efficiently channeling heavy water flow away from the room’s entrance.
Curbless Shower Trench Drain at the Entrance as a Barrier
Positioning a curbless shower trench drain directly along the threshold creates an active water barrier between the wet zone and the rest of the room. As water flows toward the opening, it falls straight into the channel before reaching the main floor.
This placement strategy works exceptionally well in doorless layouts, catching both surface water runoff and low-angle overspray right at the boundary line.
Primary Drain vs. Secondary Outside Emergency Drain Options
If you choose a traditional center or back-wall linear drain inside the shower, installing a small secondary drain outside the shower provides extra peace of mind. Think of this secondary option as an emergency overflow safety net.
This auxiliary drain connects to the main branch line, capturing unexpected splashes, bath mat drips, or plumbing backups before water can migrate into adjacent hallways or bedrooms.
How to Prevent Bathroom Flooding Without an External Drain
Creating a Subtle Sub-Floor Slope Outside the Shower Threshold
If you decide not to install an auxiliary drain outside your curbless shower, proper floor geometry becomes your primary defense. Having your installer build a subtle 1/8-inch per foot micro-slope leading from the dry zone back toward the shower entrance keeps water contained.
This minimal pitch is virtually imperceptible underfoot, but it provides just enough gravitational pull to prevent stray water droplets from pooling near dry areas.
Using Water Containment Seals and Invisible Collars
Modern bathroom hardware offers clever, unobtrusive solutions for keeping water in check without sacrificing accessibility. Low-profile flexible rubber water stoppers or semi-rigid collapsible dams can be mounted directly along the threshold.
These soft seals bend flat under foot traffic or wheelchair wheels and instantly snap back into shape, forming a physical barrier that stops runaway surface water.
Choosing Slip-Resistant Flooring Materials for Wet Areas
Whenever water crosses the line into dry areas, slick flooring surfaces quickly become fall hazards. Selecting tiles with a high Dynamic Coefficient of Friction (DCOF) rating helps keep the space safe even when wet.
- Matte Porcelain Tiles: Excellent grip with low maintenance requirements.
- Small Mosaic Tiles: Numerous grout lines create natural traction underfoot.
- Textured Natural Stone: Offers high friction, though it requires periodic sealing.
Pros and Cons of Adding a Secondary Drain Outside the Shower
Benefits of Installing an Outside Auxiliary Drain
Adding a secondary drain outside your shower zone offers several significant advantages:
- Maximum Flood Protection: Captures heavy overspray, catastrophic plumbing leaks, and tub overflows.
- Easier Maintenance: Makes cleaning the entire bathroom floor simple, as you can mop water directly into the floor drain.
- Complete Accessibility: Eliminates the need for low-profile water stoppers or collapsible threshold dams.
Drawbacks, Plumbing Complexity, and Additional Installation Costs
Despite its clear benefits, adding a secondary drain introduces notable challenges:
- Higher Upfront Costs: Requires additional plumbing, pipe fittings, and extended subfloor prep work.
- Structural Modifications: Cutting extra drain channels into existing subfloors or concrete slabs can complicate renovations.
- Dry Trap Risks: Drains that rarely receive water can lose their trap seal, potentially allowing sewer gas to leak into your home unless equipped with a trap primer.
How to Decide the Best Setup for Your Bathroom Remodel
Best Approach for Small Bathrooms and Compact Layouts
In tight spaces, water inevitably spreads beyond the shower zone. The most reliable approach for small bathrooms is a full wet room design featuring a curbless shower with a linear drain placed along the back wall, paired with continuous floor-to-ceiling waterproofing.
If budget constraints prevent a full wet room setup, installing a low-profile glass partition will help keep water contained without crowding the room.
Best Approach for Full Wet Room Designs and Luxury Remodels
For modern, high-end master bathrooms, converting the entire space into a wet room yields a seamless, spa-like experience. In this setup, continuous waterproofing covers the entire floor, and a secondary drain is installed near the vanity or tub area.
This layout gives you complete freedom to design open, doorless showers with multiple high-flow body jets without worrying about water damage.
Key Takeaways to Discuss with Your Tile Contractor Before Construction
Before demolition begins, sit down with your tile installer and plumber to review these critical structural details:
- Verify that the subfloor depth allows for a true 1/4-inch per foot slope toward the primary drain.
- Confirm that waterproofing membranes extend at least 3 to 6 feet past the shower threshold.
- Choose your showerhead style and calculate total water flow (GPM) to ensure proper drain capacity.
- Decide whether a wall-to-wall linear drain or an entrance trench drain best suits your room layout.
FAQs
1. Do building codes require a secondary drain outside a curbless shower?
A. No, standard residential building codes do not require a secondary drain outside a curbless shower. Codes only mandate a properly sloped primary shower drain with adequate GPM capacity. However, local codes may require extended floor waterproofing around barrier-free showers.
2. Can water leak out of a curbless doorless shower onto the main bathroom floor?
A. Yes, water can easily splash onto the main floor if the showerhead is pointed toward the entrance, if the floor lacks proper slope, or if high-flow fixtures generate heavy overspray. Proper fixture placement and adequate floor pitch are essential to prevent leaks.
3. Is a linear drain better than a center drain for a curbless shower?
A. A linear drain is generally better for curbless installations because it requires sloping the floor in only one direction. This creates a smooth transition at the shower threshold and allows you to install large-format tiles without complex envelope cuts.
4. How much slope does a curbless shower floor need?
A. A curbless shower floor requires a standard slope of 1/4 inch per foot toward the drain to ensure proper water evacuation. The floor directly outside the shower threshold may also feature a subtle micro-slope angled back toward the shower.
5. Does installing a curbless shower turn the whole bathroom into a wet room?
A. Not necessarily, but it requires similar waterproofing precautions. While a true wet room features fully waterproofed walls and sloped floors throughout, a curbless shower requires continuous floor waterproofing extending several feet past the shower entry to protect against moisture.
Conclusion
So, do we need a drain outside a curbless shower? For most standard bathroom layouts with fixed glass panels and properly sloped floors, a single primary drain is more than enough to handle daily water flow.
However, if you are designing a high-end open wet room, installing high-flow rainfall fixtures, or dealing with a tight bathroom footprint, adding an outside trench or auxiliary drain provides invaluable protection against unexpected leaks and pooling. By combining continuous waterproofing, smart fixture choices, and expert floor sloping, you can enjoy a beautiful, barrier-free shower that keeps your home dry and functional for years to come.

- 6 Bathroom Tile Materials Ranked for Wet Areas - September 30, 2026
- 8 Bathroom Remodel Mistakes That Waste Money and Where to Put It Instead - September 30, 2026
- Are Walk-In Tubs Still Worth Choosing for a Bathroom Remodel - September 30, 2026